Digitizing Information
Image compression, resolution, organization, shipping, hardware, software, Trouble shooting guide
12
Years in business
10,843
Customers so far!
4,000
photos scanned every day

Tax Free
Digitizing Information
Under the hood of a digital image
A digital image is a collection of dots, very much like an image in a newspaper. The dots are called PIXELS, and each pixel has a position, a color, and an intensity associated with it. The resolution of the digital image is determined by the size of the pixels, and is noted as Pixels per Inch. The term “Dots per Inch” or DPI means the same thing. The dynamic range of the image is defined by how many different brightness levels each pixel has, and is reported as a ratio of lightest to darkest, like 10,000 to 1. The number of different colors in the image is reported as color count.
Digital images are data files, and have all the information about where each pixel is in the image, which color it is, and how bright the pixel is. Images with information arranged like this are called RAW images, and get big really fast. An image which is 1,000 pixels wide and 1,000 high has 1 million pixels. A typical pixel in a digital image displays 32 million different colors, and has 64,000 different brightness levels. For each pixel, the computer writes down a 4 digit vertical position, 4 digit horizontal position, 8 digit color number, and 5 digit brightness number. That’s 21 digits for each pixel, and it takes 21 million digits for that 1,000 x 1,000 image.
Image compression
Moving large amounts of information around is a problem for computers, and the human race has been working on how to compress the data associated with images since the 60’s. The challenge is getting small file sizes while maintaining image quality. The culmination of this work is the JPEG Lossless Compression (ISO/IEC 14495) standard, or JPEG-LS for short. This algorithm can compress the data files associated with images, without sacrificing image quality. If fact, image files compressed in this manner blow back up to the original RAW file when they are loaded into image editing programs which follow the latest JPEG standards. (Like Photoshop CS5 and above, Corel Photo-Paint X5 and above, & iPhoto)
You no longer need a TIFF filE!
Photographers who transitioned to digital early on learned that if they wanted high quality digital images, they needed the image in a TIFF file format. This was the only way to get all the original information contained in the original digital image into photo editing software.
With the use of JPEG-LS, the TIFF files are no longer necessary. Photo editing software can now reproduce the RAW (or TIFF) data file without loss when you open the JPEG-LS file.
Digitizing Information
digital image organization

Keeping the digital files in the physical order in which they arrive
Keeping the digital files in the same order as the physical originals is important.
Using senior operators & special processes, your images are scanned in the order they are received. We can't guarantee that we never make a mistake, but we try really hard and get it just right almost always.
Price: $4.00 per folder
Folder Structure and Keeping in Order
Using the physical organization of the originals that you create, a digital organization structure is created for your digital images. This is how we do it.
File Folders
Each group in your physical organization becomes a file folder as shown above. You can create groups within groups if you like.
The best way to create your physical groups is to use rubber bands to hold individual groups together. If you want to have groups within groups, putting all the stacks of originals you want grouped together into a zip lock bag, and label the bag.
Image Names
Going even further, we use the folder structure to create meaningful image names. The image name will inherit all the folder names in the structure above it, then we tack on a serial number to control the sequence.
For example: 1957- Birthdays - Kate - 001.JPG
Digitizing Information
Backside Scanning
How backside scanning is done
Backside scanning is only applicable for printed photos, and the backside is scanned at the same time as the front side. From the scanner operator’s perspective, backside scanning is either on or off. This way we can assure that if we scanned a backside, the association with the front side is always correct. There is no chance for human error to creep in!
Associating the front side with the back side
The association between the front and back sides is done by making sure that the names of the two images will display together on computer file systems. The backside image name always ends with “backside”. The rest of the backside name comes from the name of the front side image. In addition, the metadata (which is sometimes used to order the image display) have identical created dates.
How to request backside scanning
Send us a note in the box, or enter a note into the notes area during the checkout process. Nobody wants scans of the backside that nobody wrote on, so when you request backside scans, we will only scan backsides with hand writing on them. If you only want copies of some of the backsides with writing on them, then please separate these photos from the rest, and label this bunch with something like “scan backsides of these only”.
However, if you want us to copy every backside regardless of writing written on it, just tell us to “scan backsides”.
Cost of backside scanning
The cost of the backside scan is the same as whatever you pay for the front side, so with backside scanning the price per photo is double. Volume discounts apply. The front and back sides of a photo both count towards total volume! For example, if you sent us 200 photos and you wanted all of the backs scanned, then your total volume would be 400 photos. The volume discount would take you from $0.25 per photo to $0.20 per photo, the more we scan the more you save!
how to access your images on dropbox


Digitizing Information
DpsDave Support!
Trouble Shooting Guide
These are the most frequent symptoms we hear about, and how to fix them.
My computer is taking a long time to open my images
The DVD won’t play on my TV
The movie won’t play on my computer
The computer is asking if I want to merge these folders
Some of my images are all red
All my images look slightly blue or red
All my images look washed out
I found an upside down or sideways image
I found a backwards image
Our work
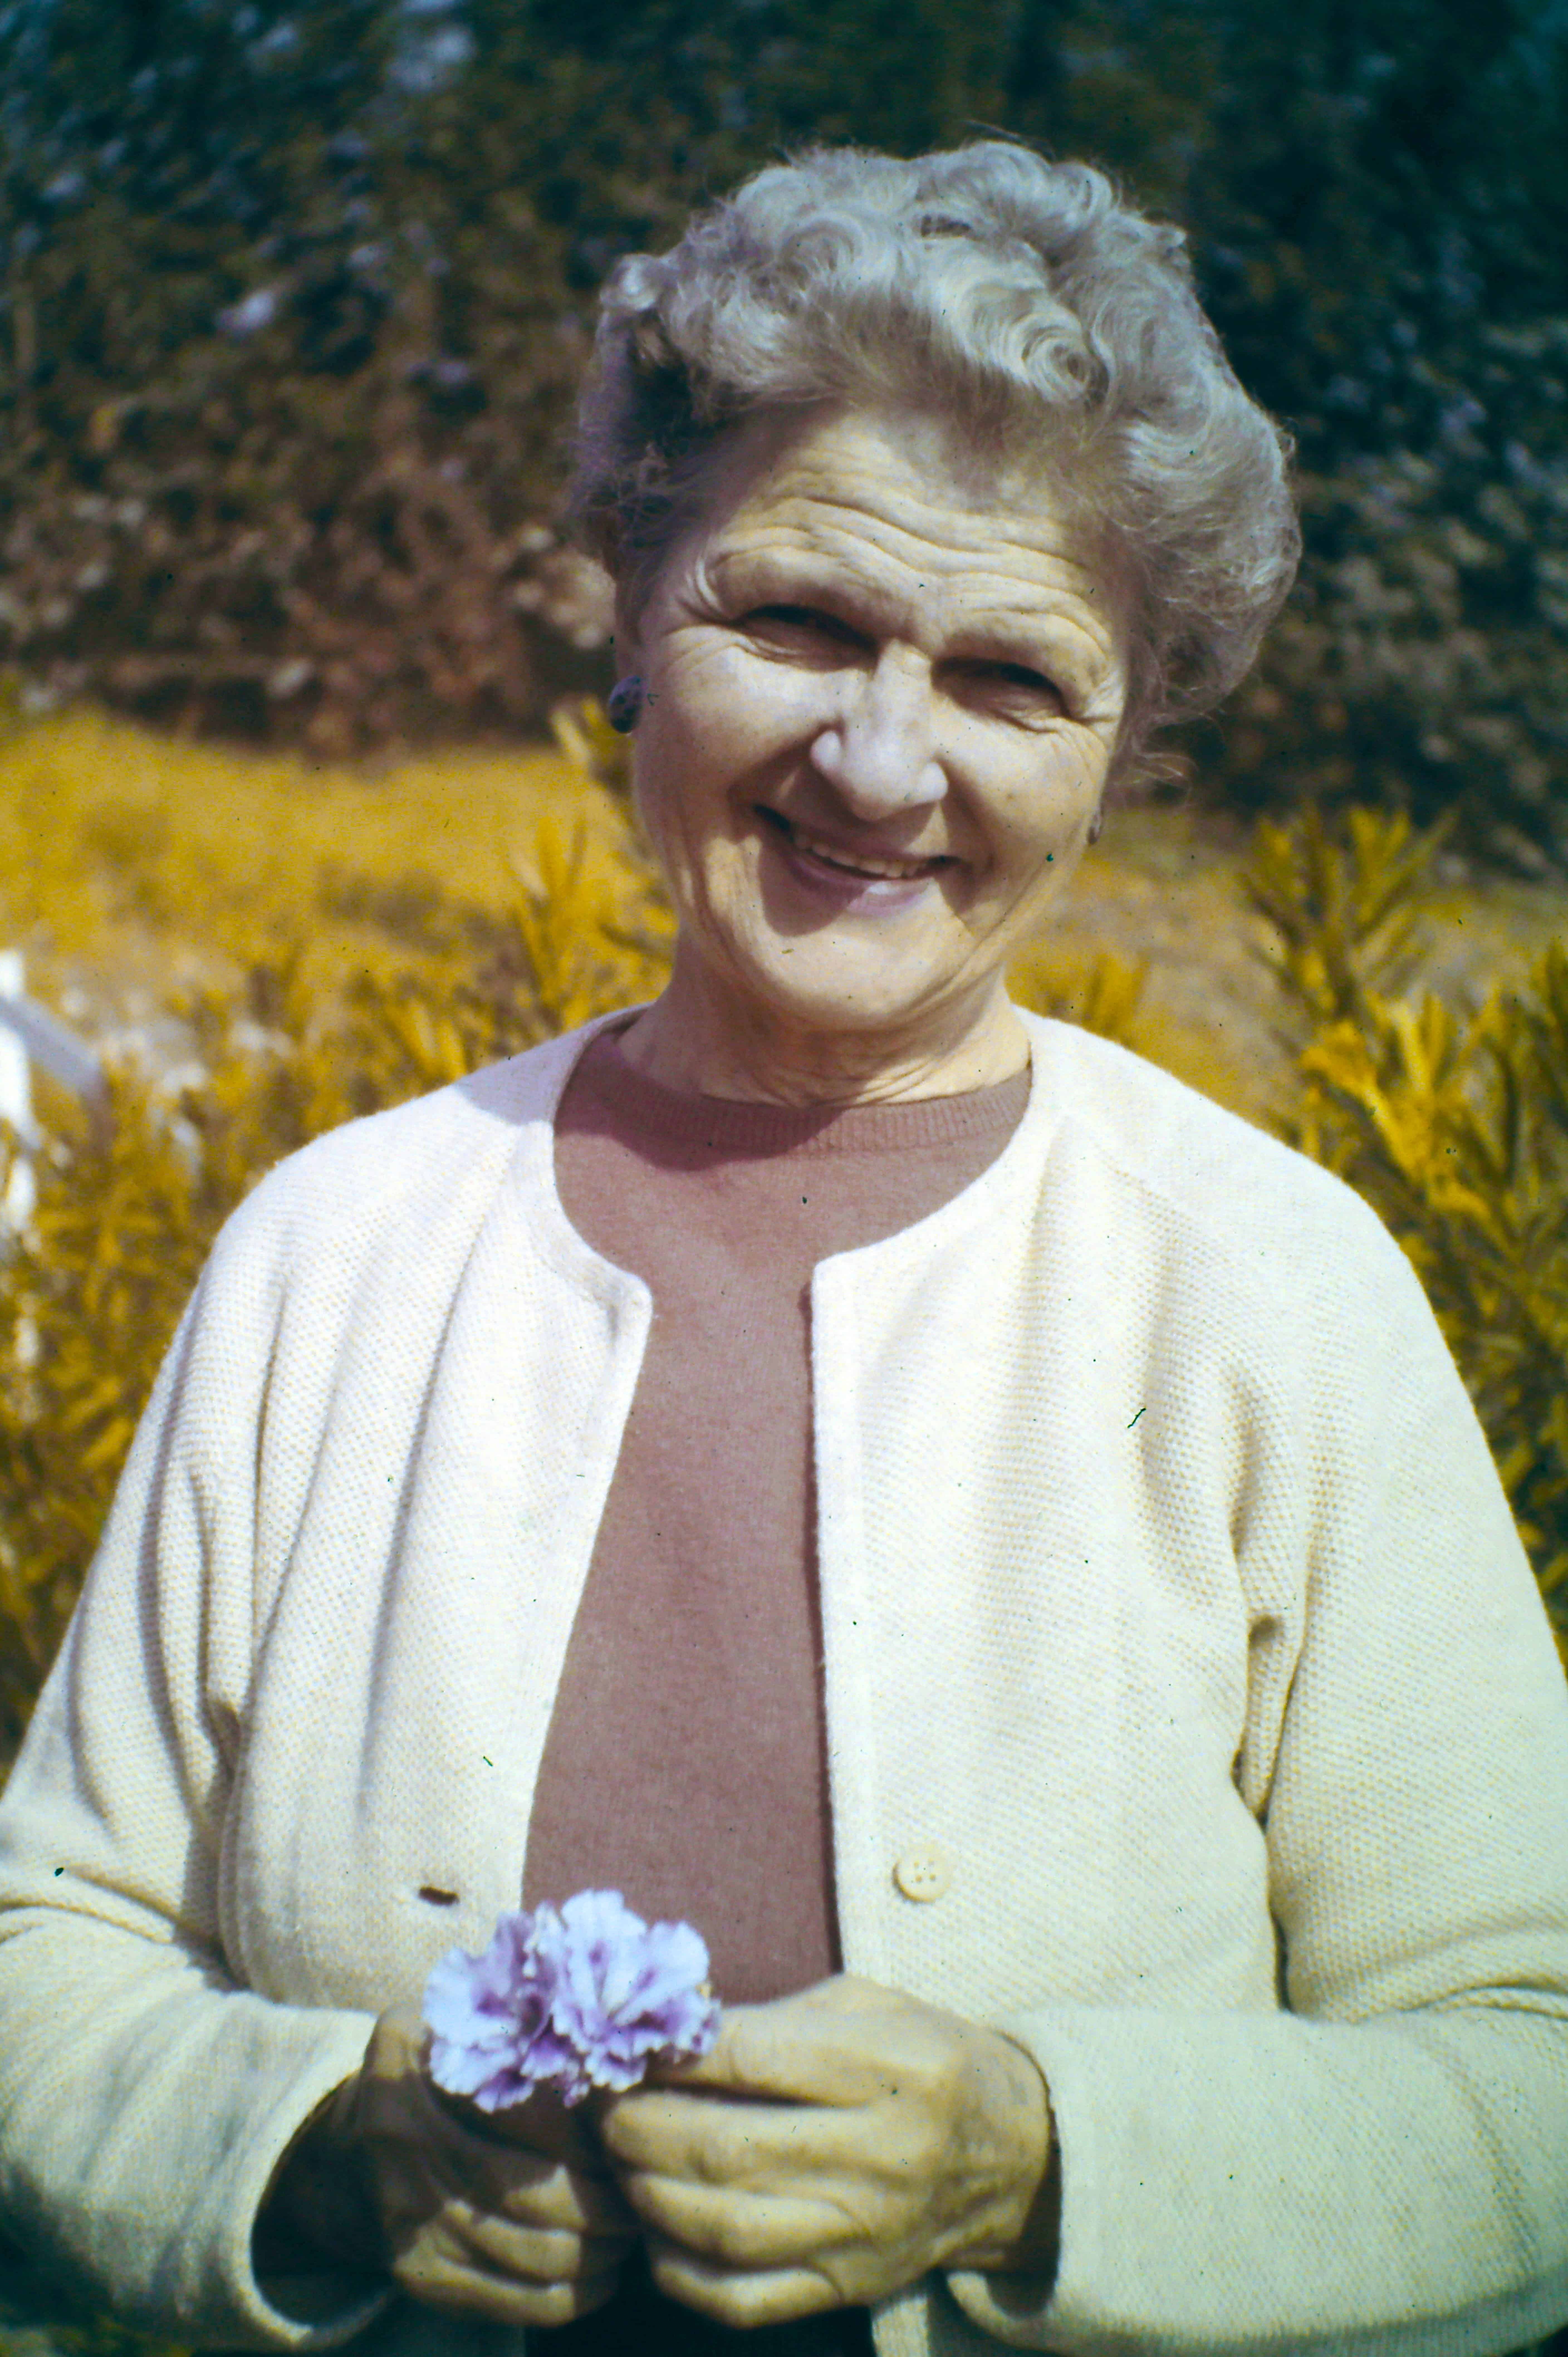
See what magic our digitizing technicians can work!
Before Dpsdave
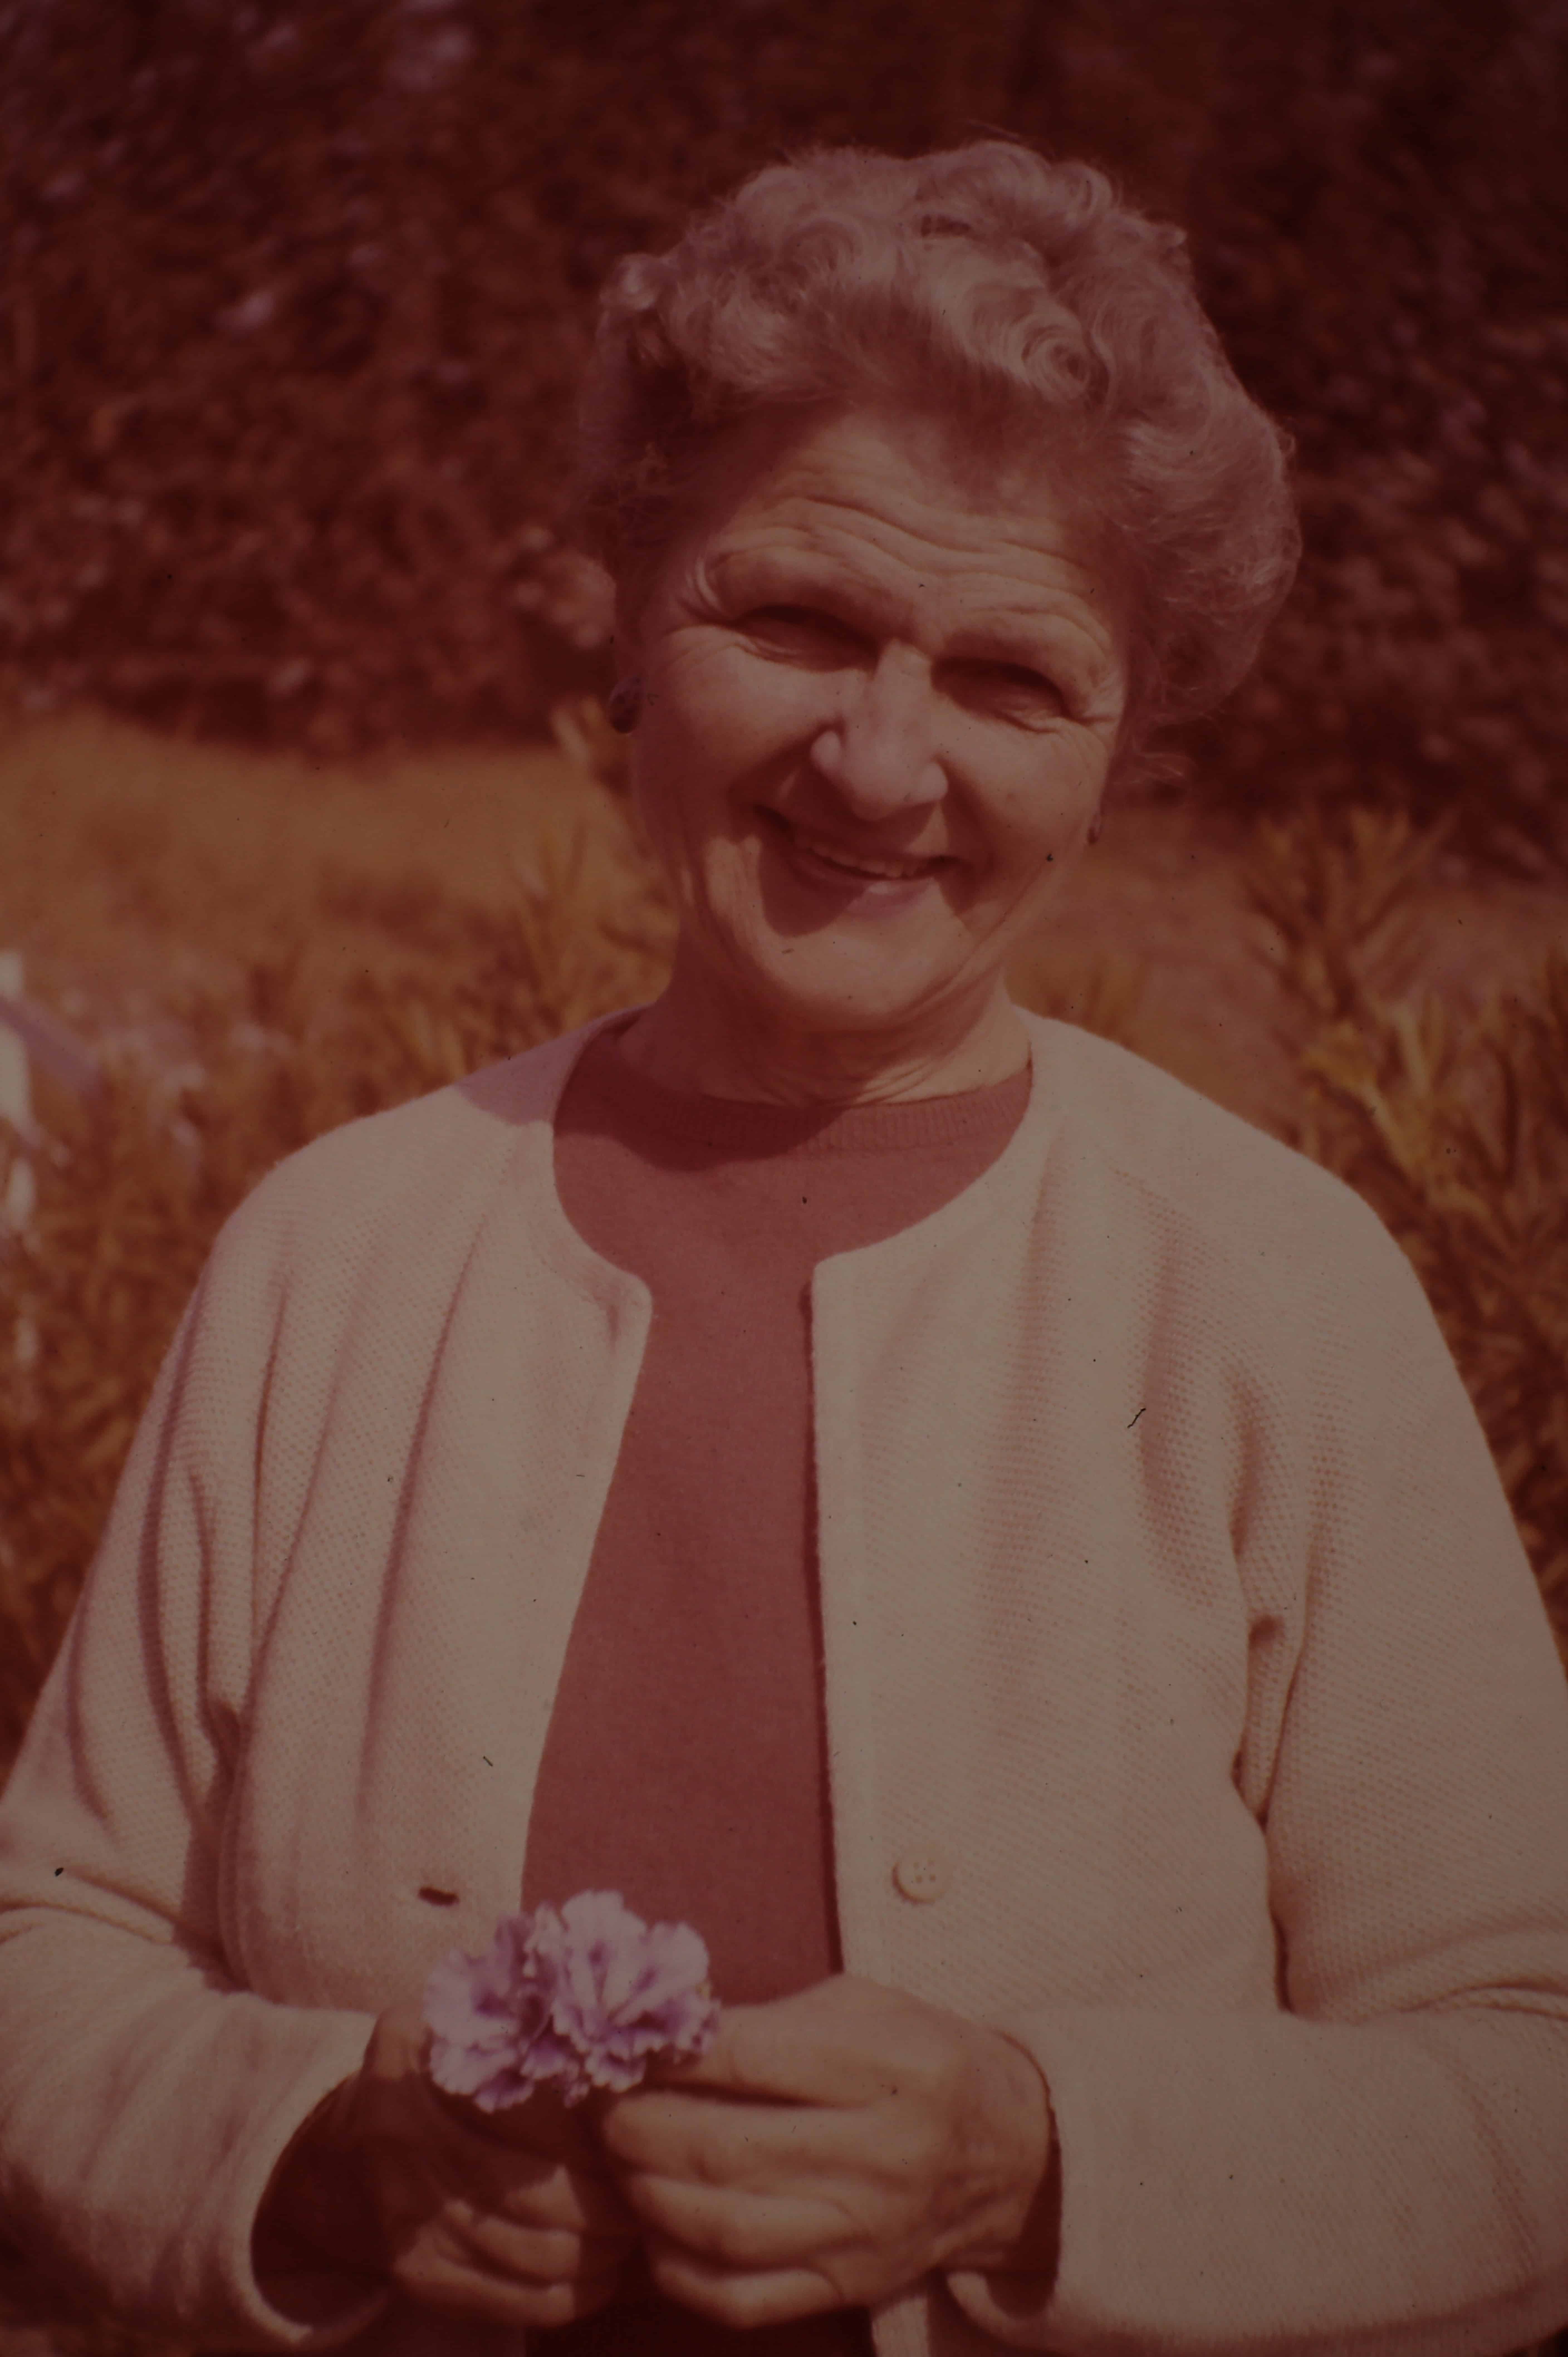
After dpsdave
How to order from DpsDave!
Step 1: Place Your order
There is no payment upfront, and this makes it even easier!
Step 2: Send your stuff
Whether you want to do it yourself, or have us help you, we have many options available!
You select shipping assistance options on the checkout page.
If you're doing it yourself (most people do) you might visit our Safe Shipping and Packing Tips pages for more information.
step 3: we get to work
when the box arrives, we log it into our database, and an email will be sent automatically.
It's nice to know the package arrived safely, but more importantly we're taking this opportunity to check the return address one more time, and to let you know when the digital photos are schedules to ship back to you.
step 4: we ship it back
The UPS truck shows up at our back door at 3:30
Our job is done, and the photos begin their trip back to you. In a couple of days, the UPS driver will arrive at your door with your box. Inside, you'll find your originals and a DVD or USB stick with your digital images.
Origins
During the 60’s and 70’s, I was an avid photographer, using a 35mm camera my father gave me. I didn’t have much money, and since slides were cheaper than prints, I always had my pictures developed as slides. I intended to print the good ones someday, but someday never came. Forty years later, with thousands of good slides and no prints, I noticed that the color on my slides had begun to fade! Darn.
As it turns out, it is a good thing that I never got around to making those prints! Prints also fade, and making all those prints would have been a waste. Still an avid photographer, I had made the switch to digital years ago. I could see that my good old slides weren’t going to last much longer, so I investigated commercially available slide scanners, and was not satisfied with the quality of the output. Eventually, I created my own slide scanners, and that was the beginning of this company in 2009.