Convert Photo, Video & More to Digital

Converting Your Old Photos To Digital
Doing It Yourself vs. Sending To An Online Service
Digitizing your photo collections is a great way to clean up the clutter, or share and preserve these images.
Should you do this yourself or send them to an online service?
The answer is that like most stuff, it depends.
What are the pros and cons?
Benefits of Doing It Yourself
Challenges of Doing It Yourself
Digital Image Knowledge You'll Need
File type options: JPEG, PNG, TIFF, DNG, GIF, PDF
Color space options: RGB or CMYK. There are several sub options
Resolution: The density of the digital image.
Color depth: the resolution of the color, expressed in bit count
Dynamic range: The electronic equivalent of an F-Stop
Scanning Equipment:
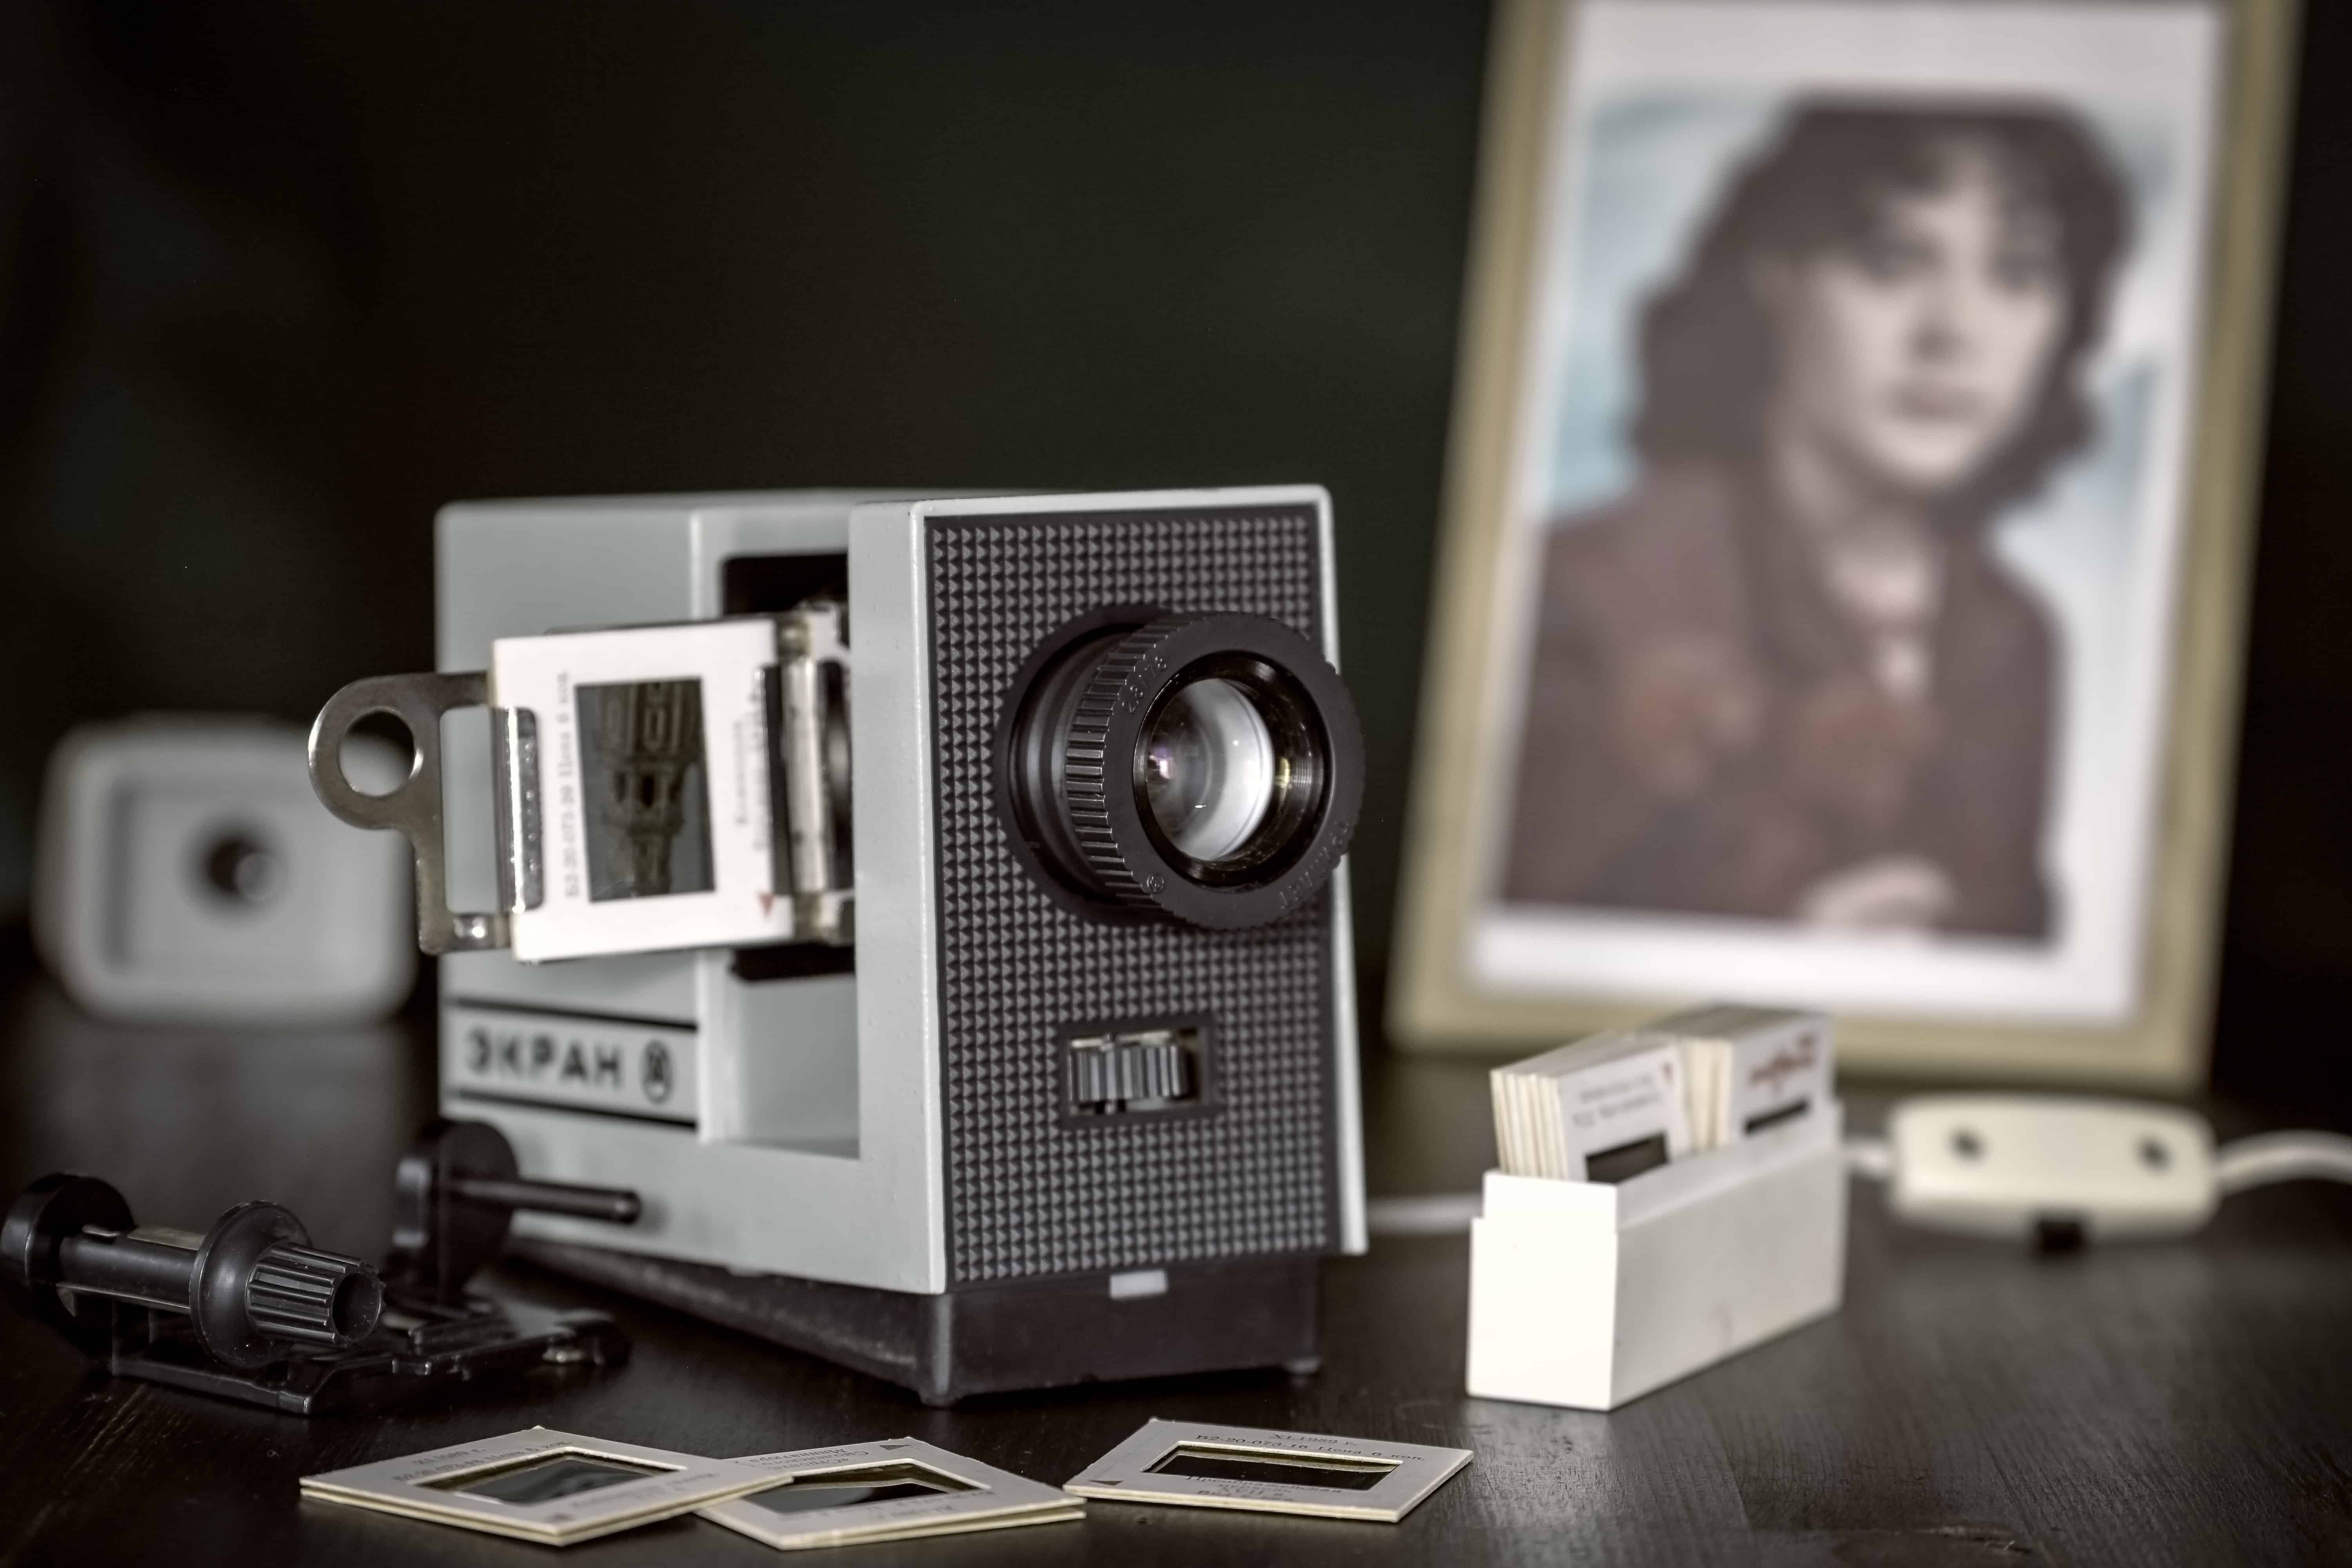
A dedicated photo scanner (not a Scan - Print - Fax) is absolutely necessary. This is because the multi-function machines are designed to scan documents, not photos. The result will be grainy images of prints, and horrible images of slides.
There are some good dedicated scanners out there, like the Epson 850. Alternatively, there is the Nikon 9000. The 9000 went out of production in the late 90's, but is pretty good at slide scanning.
Unfortunately, these cost more than $2,000 these days. Both these machines are limited by the resolution and sensitivity of the light sensors and electronics. They have a max resolution of 4800 DPI and have a 64,000 : 1 dynamic range. Not good by today's standards!
The Feature Highlights
Use this section to describe the most important benefit of your product and make sure to describe it in such a way that it's clear who the ideal customer or user for this product is.

Resolution vs. Time:
More resolution means better digital image quality, but it also means more time to scan an image.
I Found that the time to scan a slide at minimal quality levels was about 2 minutes each, and good quality took 5 to 7 minutes each. So I bought a feeder tray, loaded it up & started the thing.... But it was always jammed when I came home. Drove me crazy!
Prints were not as bad, as low resolution was about 15 seconds each, but loading and unloading was about twice that, so the pace was about 45 seconds each. Higher resolutions increased the time to about 2 minutes each.

Mounting the Film:
One of my neighbors bought a Nikon 9000 to scan his slides. He discovered that keeping the slides in focus was problematic, as slides mounted in cardboard or plastic frames were often not flat enough to keep the entire image in sharp focus.
He got glass microscope slides with cover plates, and removed the film from the mounts.
Using special mounting oil, he sandwiched the film between the two glass plates. He ran them through the Nikon 9000 at 4800 DPI and got really sharp focus. He averaged 1 slide an hour though.

Post Processing
If you want a high quality digital image from your old slides or prints, you have to do some post processing. The most common issue is color fade. This happens to almost every slide more than 30 years old, and to many prints. Here are other things that require post processing:
- Color correction (Hue and Saturation)
- Edge contrast enhancement
- Compression
- High Dynamic Range effects
- Cropping
- Display compensation
- Turning the image right side up
- Renaming the image
- Organizing into folders

Technical & Computer Knowledge
To make a long story short, there are dozens of settings on the scanners and in the scanner software on the PC that make a big difference. The instruction manuals will tell you how to change all these, but they don't tell you why.
For example, the scanner will allow for many different types of files (jpg, png, tiff, pdf, gif, bmp and a whole bunch of others), but won't tell you that jpg is ubiquitous and therefore you should choose that. But then there are several different flavors of jpg, so now what?
Then there is sharping, color balance, output size, unsharp mask and a whole bunch other stuff than takes some effort to figure out. This overwhelms most people, and I get quite a few calls from people who want to pay me to tell them how to run the machine.
